
Looking to spruce up your space despite the winter chill? Drywall installation doesn’t hibernate in colder months! Despite the weather, Ottawa Drywall Guys has the inside word on how to complete this task!
So, in this blog, we would like to help you master the art of winter transformations, showing you what you need to know about drywall installation in the winter.
Timing Matters: Best Times for Winter Drywall Installation
Wintertime brings with it daily temperature swings that may be rather dramatic. Freezing mornings and evenings might cause the joint compound used to install drywall to dry more slowly. The cement takes longer to set in frigid temperatures, which might result in uneven surfaces or longer project completion times.
To mitigate these difficulties, try to install drywall in the warmer parts of the day. Temperatures are often better in the late mornings and early afternoons. The general ambient temperature tends to rise during these periods, which makes the joint compound’s correct drying and setting conditions more favourable. Higher temperatures aid in the compound’s drying process. As a result, there will be less waiting between coats, sanding, and finishing touches. Furthermore, a warmer workspace can improve the finish’s quality and guarantee more consistent and seamless outcomes.
Although it’s best to strive for warmer hours, you also need to adjust to the particulars of your office. Take note of any insulation or heat sources you may use to keep the temperature at a comfortable level. Make the necessary adjustments to your timetable, leaving room for flexibility in case unanticipated temperature changes arise.
How to Install Drywall in Wintertime
Winter drywall installation calls just a little more care because of how the chilly weather affects drying timeframes. Here’s a step-by-step tutorial to assist you in finishing it:
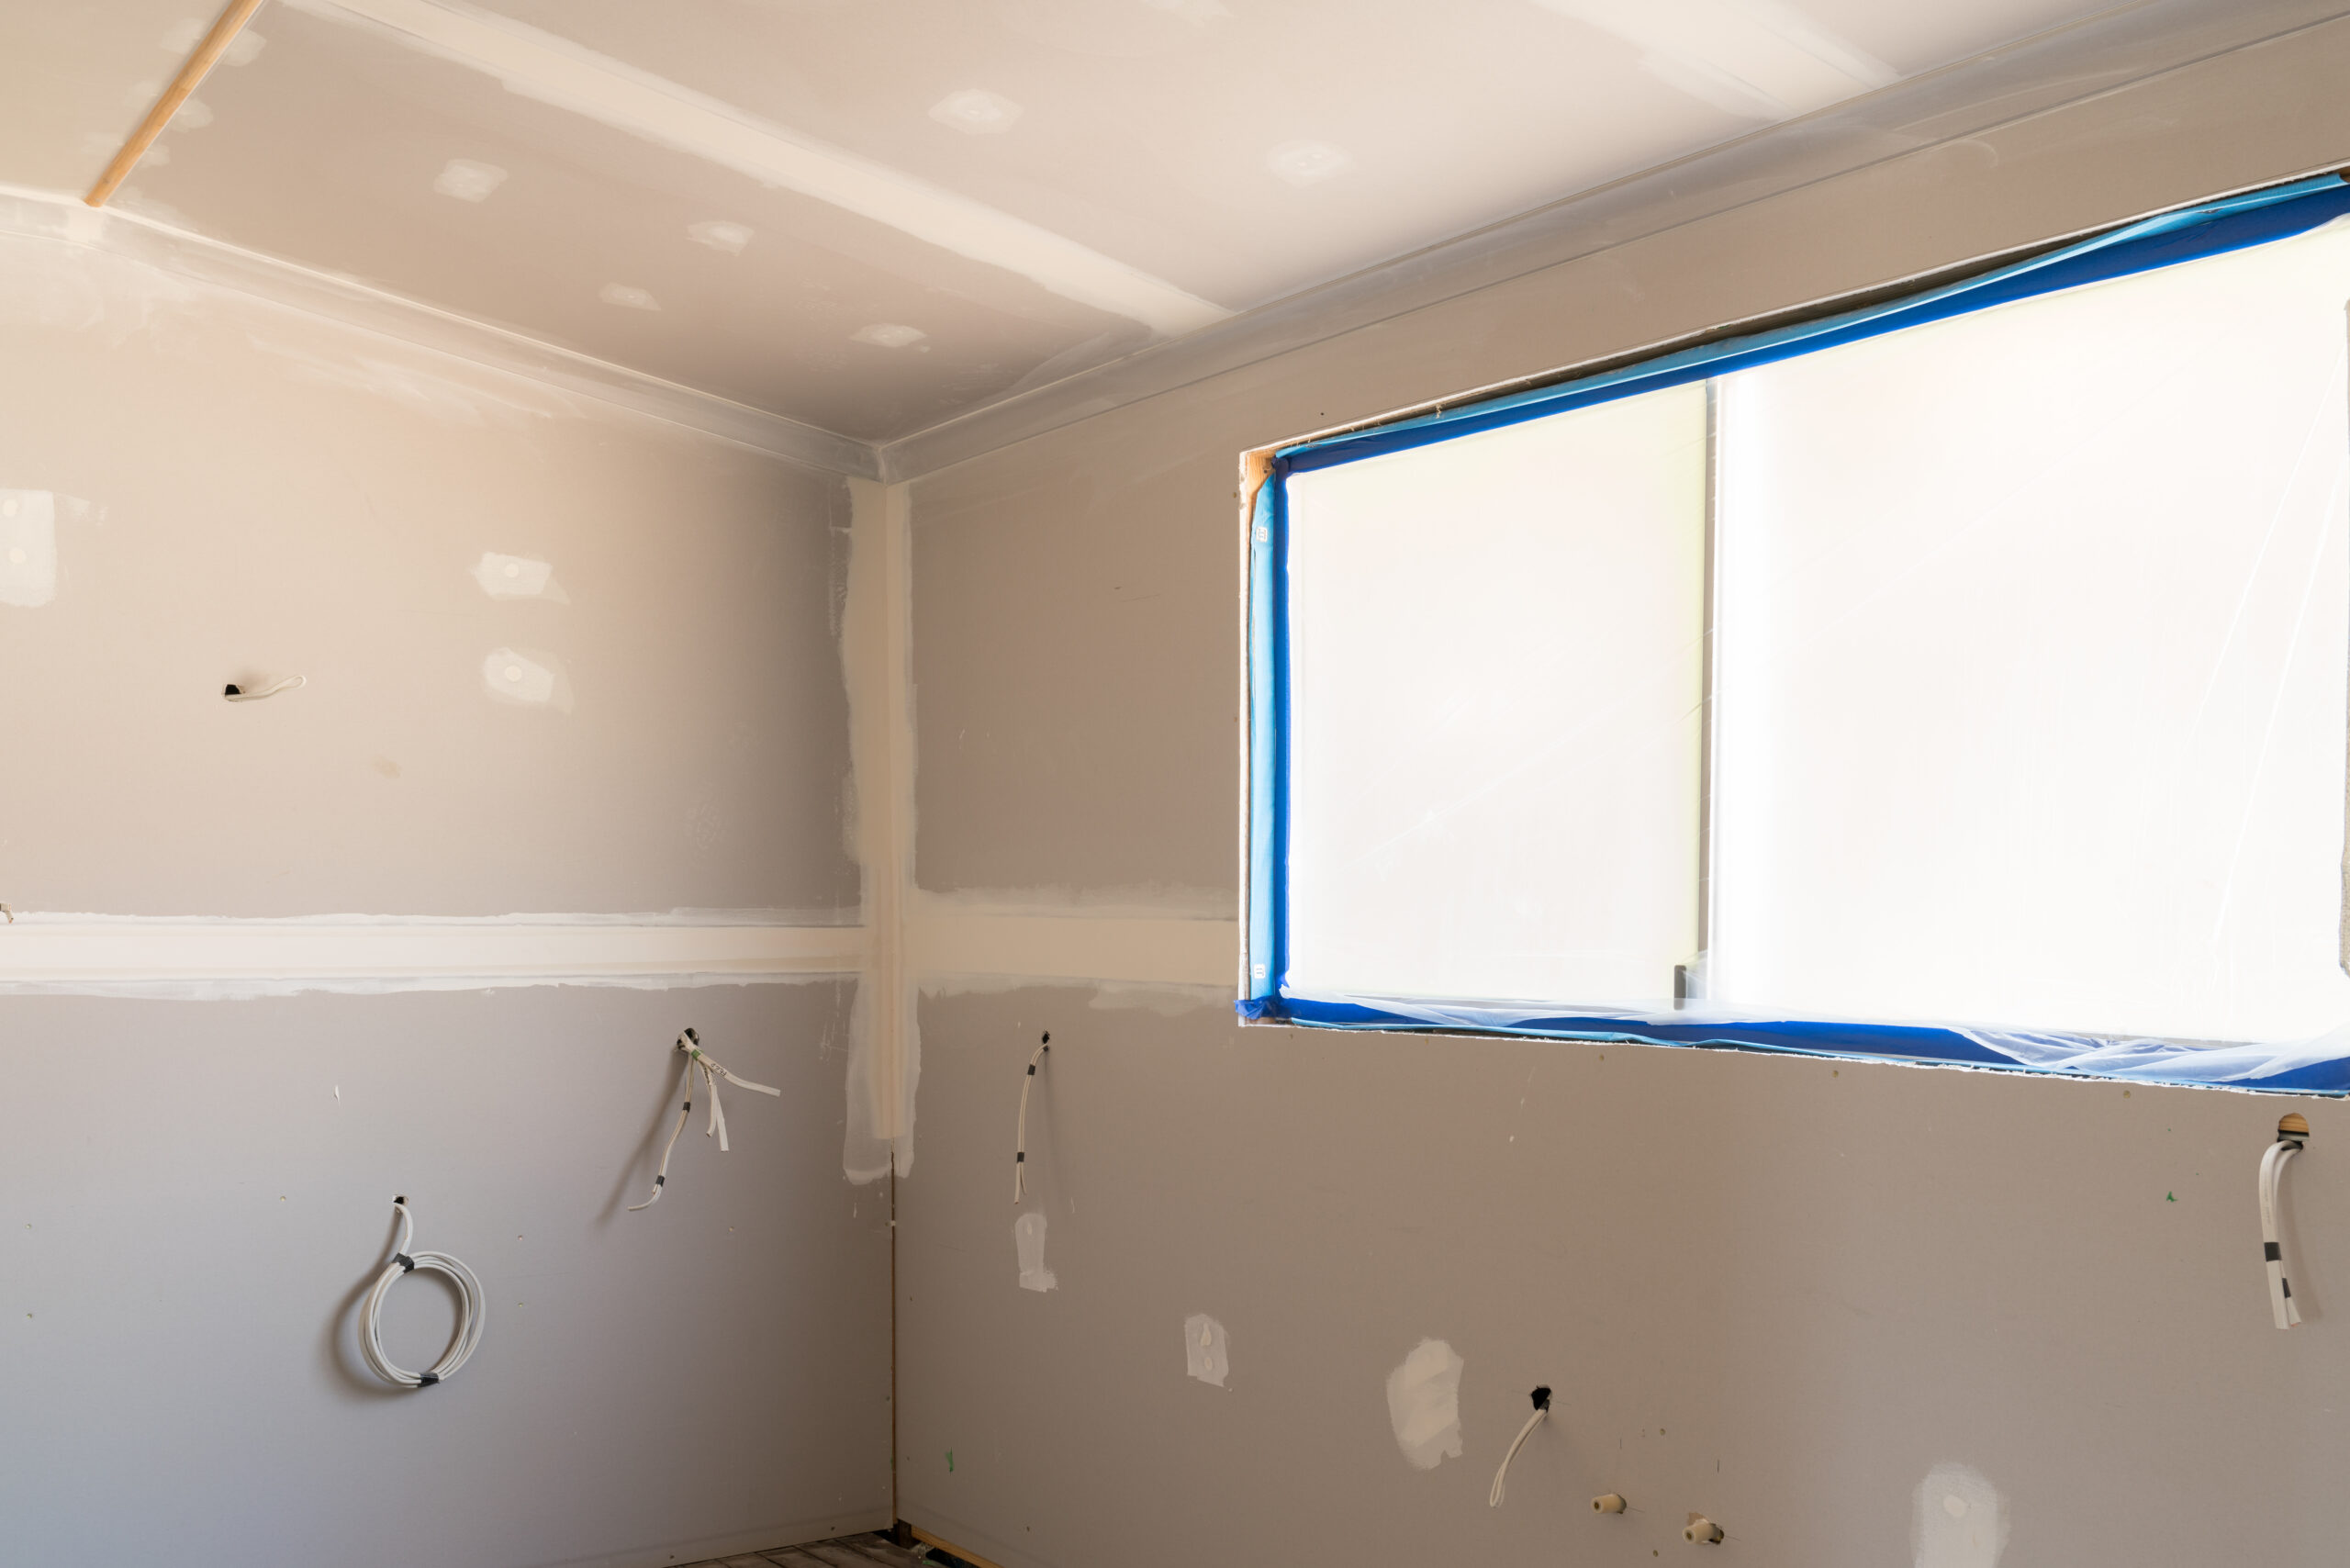
Set Up the Space: Make sure the area is dry, clean, and devoid of any moisture or debris that can compromise the drywall’s adherence. For the joint compound to dry correctly, try to get a room temperature higher than 55°F (13°C). Reducing humidity also helps, since drier air promotes speedier drying.
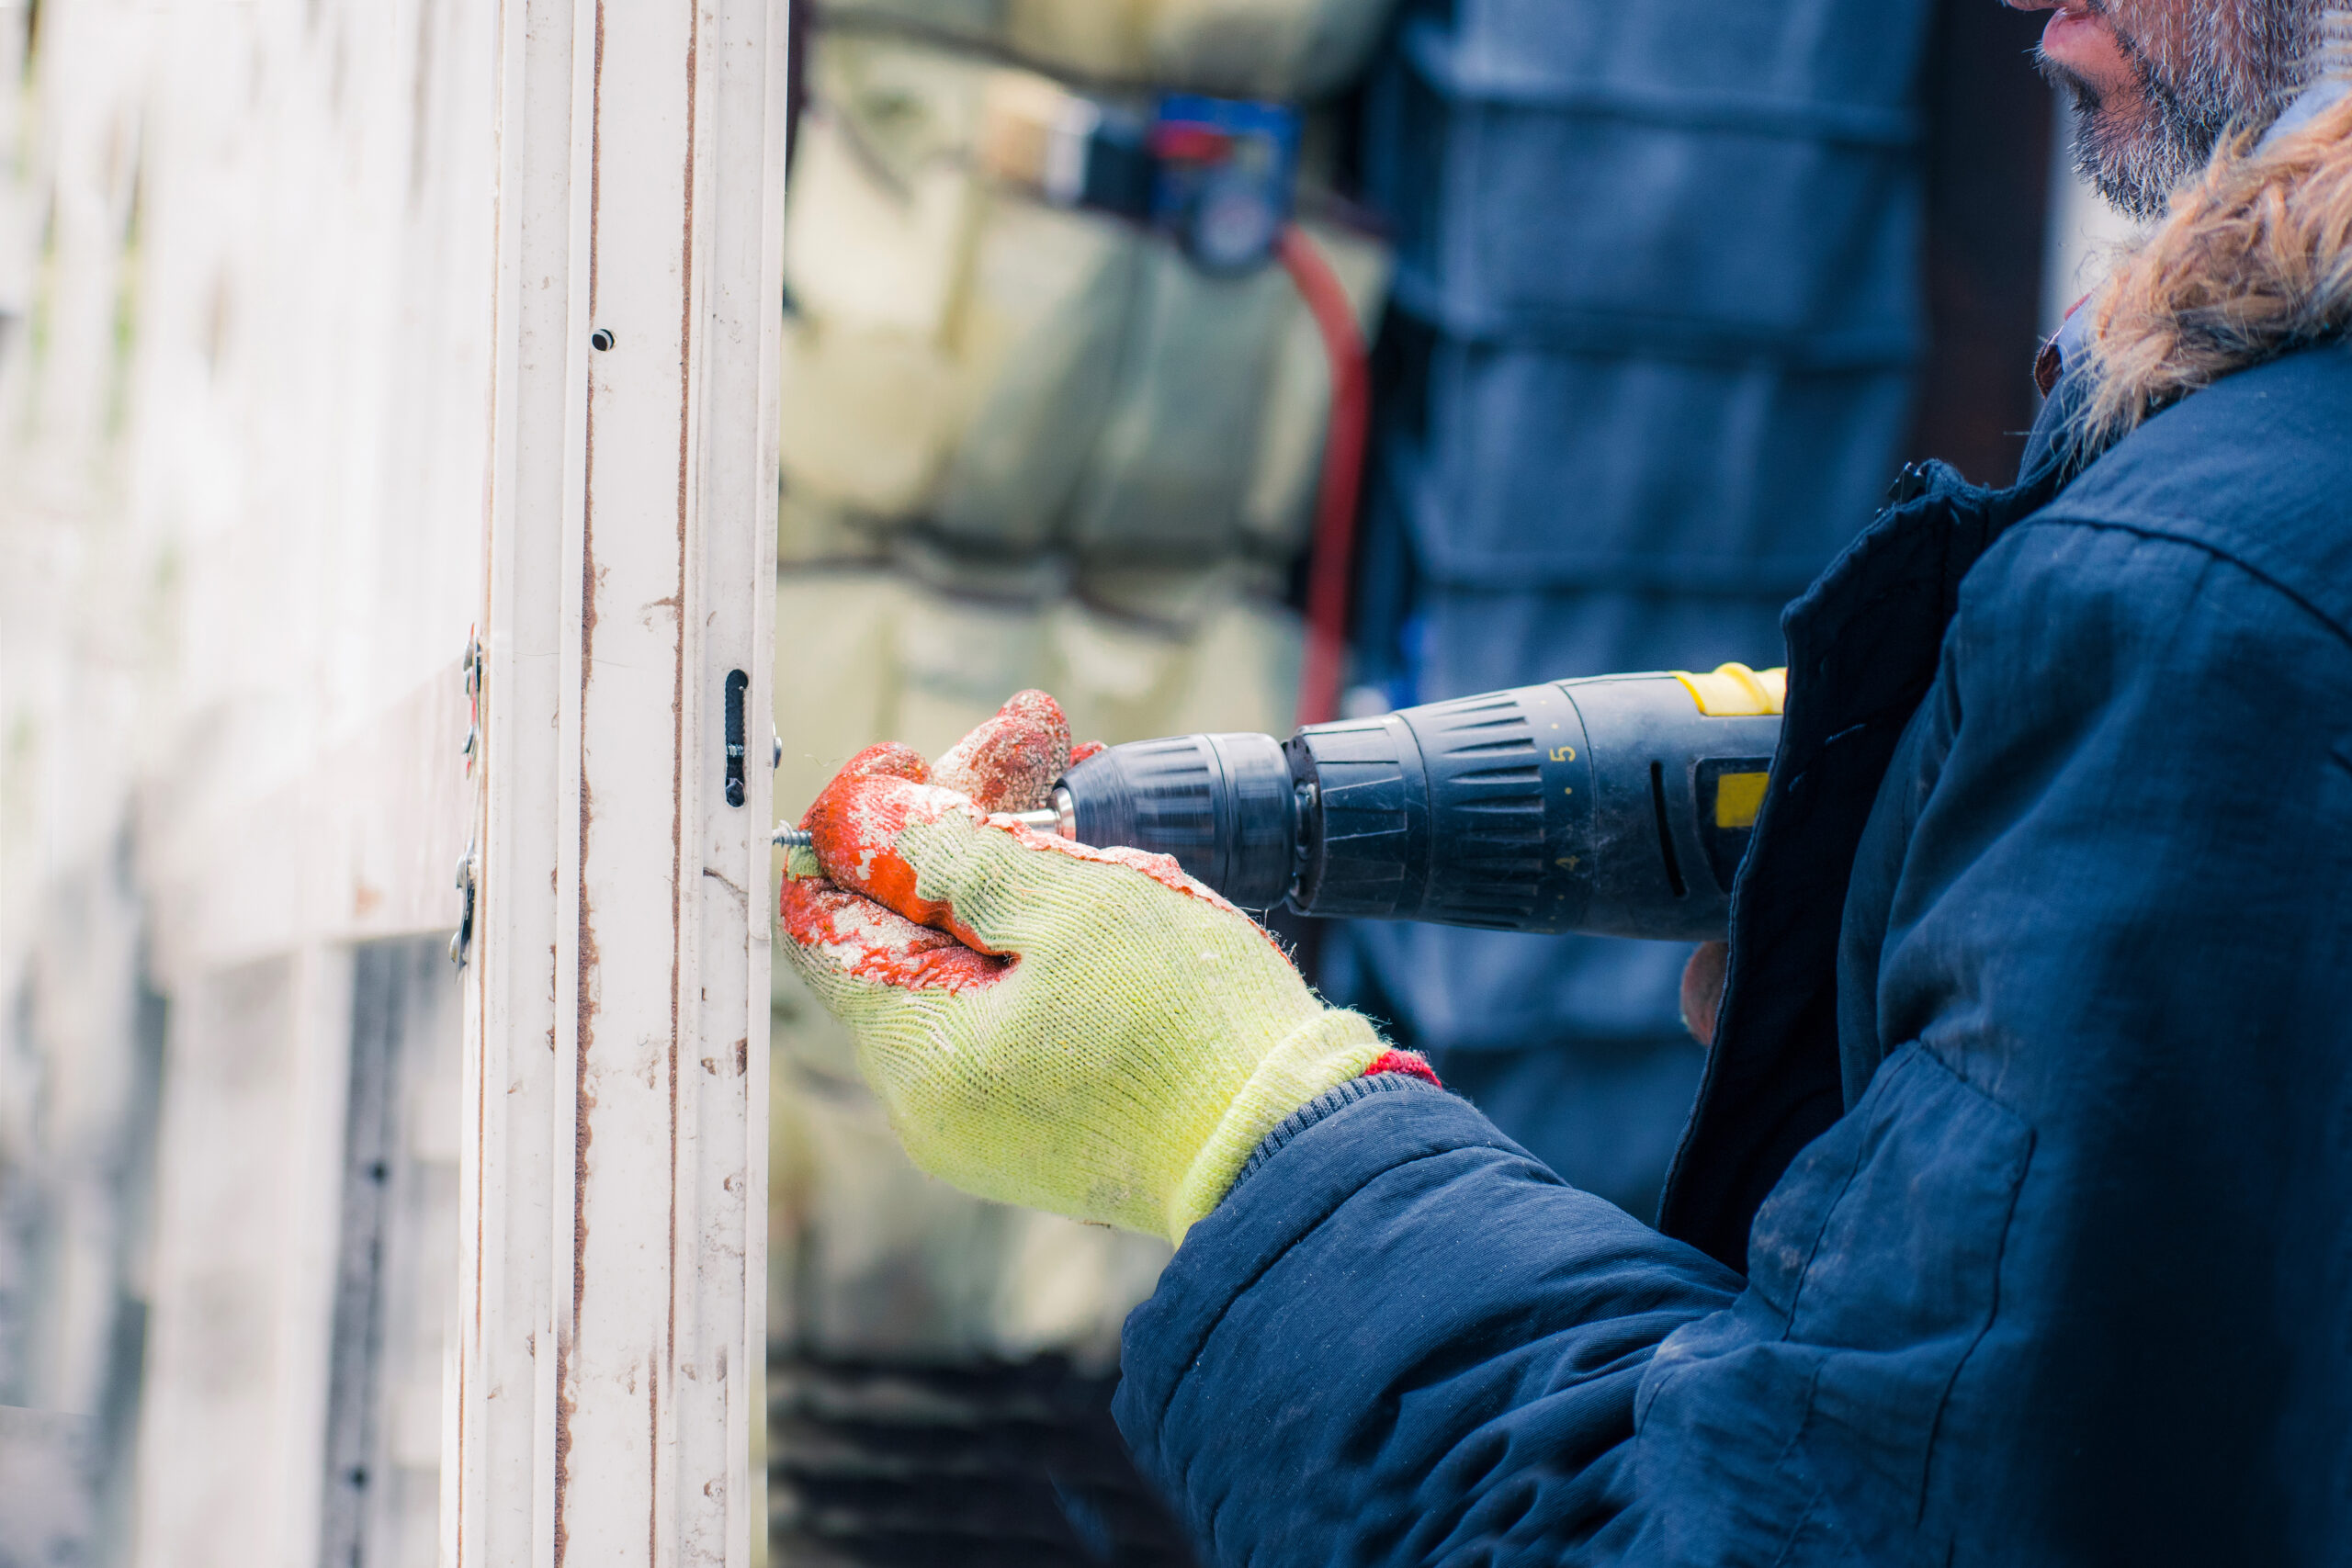
Measure and Cut: Using a T-square for precision, a drywall saw, and a sharp utility knife, measure the area where the drywall will be installed and cut the sheets to fit.
Hang the Drywall: Using drywall screws or nails, fasten the drywall sheets to the studs, allowing a small space between panels for expansion. Verify that they are just barely snug but not too tight.
Tape and Mud: After covering the seams with joint compound (mud), attach joint tape to them. Using a trowel, smooth it out and feather the edges to make it blend in. It dries faster to apply several thin coats than one large one.
Sand and Repeat: To get a flawless finish, lightly sand the surface once the compound has dried. Reapply the compound in successive levels as necessary, sanding in between applications.
Paint and Prime: Prime the drywall to seal it and provide a smooth surface for painting. After it’s dry, paint the desired colour.
Final Touches: When all the paint has dried and the walls are completely set, install baseboards, trim, or any other finishing touches.
Tips for DIY Drywall Installation
Here are some essential tips for anyone considering doing this job themselves:
Get Ready Like a Pro: Before you begin, make sure the area is dry and clean. Moisture and dust might interfere with the drywall’s ability to adhere.
Temperature Matters: Aim to keep the area at a comfortable temperature. Use a portable heat source or space heater if it’s too chilly. Exercise caution while you’re among drywall materials!
Patience is Key: Take your time letting the food dry. It is important to allow each layer to dry completely before going on to the next, even if it is taking longer than anticipated because of the cold.
Cover It Up: Try to keep the space contained once the drywall is up. This promotes heat retention and speeds up the drying process.
Quality Tools Rule: Purchase high-quality instruments. A durable drywall saw, a sharp utility knife and a trustworthy T-square may be lifesavers.
Check and Double-Check: Cut once, measure twice! When installing drywall, accuracy counts. Make sure everything fits snugly by taking your time.
Safety First: Always protect yourself from dust and other possible irritants by using the proper safety gear, such as gloves, a mask, and goggles.
Ottawa Drywall Guys – Professional Drywall Installation Contractors
Are you looking to transform your space this winter? Please contact us at Ottawa Drywall Guys for professional handling of your winter drywall tasks! We can handle everything from accurate installations to immaculately completed walls, even in the worst temperatures. Entrust your winter drywall project to our skilled team for ensured quality, accuracy, and on-time completion. Don’t let winter stop you! For seamless drywall installation that ensures your home’s transformation even in the chilly weather, contact Ottawa Drywall Guys now.
Recent Comments